


Building a custom Mini PC comes with unique challenges that you need to navigate carefully. First, component compatibility is important; you'll have to make certain your motherboard, RAM, and GPU fit well within the compact case. Cooling solutions are necessary too, as insufficient airflow can lead to overheating. Cable management often becomes a headache due to tight spaces, requiring you to be creative with routing. If you plan on overclocking, thermal management will be a priority, and thorough testing is essential to avoid boot failures. Keep these factors in mind, and you'll discover more tips to succeed in your build.
Key Takeaways
- Limited space in Mini-ITX cases complicates airflow management, requiring effective cooling solutions to prevent overheating.
- Choosing compatible components, like RAM and GPUs, is crucial due to restricted dimensions and fewer expansion slots.
- Cable management becomes a challenge in compact builds, leading to potential airflow obstruction and heat buildup.
- Overclocking requires careful thermal management and selection of motherboards that support robust power delivery in confined spaces.
- Systematic testing and troubleshooting are essential to identify hardware conflicts and ensure stability in a compact environment.
Component Compatibility Issues
When building a custom Mini PC, you'll quickly realize that component compatibility is a fundamental factor. Mini-ITX motherboards often come with limited RAM slots, usually just two. This restriction means you need to choose your RAM capacity and speed carefully to guarantee it works seamlessly with your ITX motherboard. Additionally, performance metrics and benchmarks are essential for evaluating the effectiveness of the components you select, particularly for software development needs like coding efficiency and multitasking capabilities, as highlighted in performance and processing power.

Another consideration is the compact size of Mini-ITX cases, which often limits the length of compatible graphics cards. You'll want to check the GPU dimensions against your case specifications to avoid any fitting issues. Additionally, the fewer expansion slots available on Mini-ITX systems can restrict your ability to add sound cards or extra storage controllers. Planning your system's intended uses is important to avoid disappointment later.
Don't overlook the power supply; many Mini-ITX builds require SFX or other compact power supplies which differ greatly from standard ATX units. Make sure your chosen PSU provides sufficient wattage and connectors for all your components. Finally, consider how your selected operating system will run with the hardware you've chosen, as compatibility can vary. Careful planning will help you navigate these challenges effectively.
Cooling Solutions and Airflow
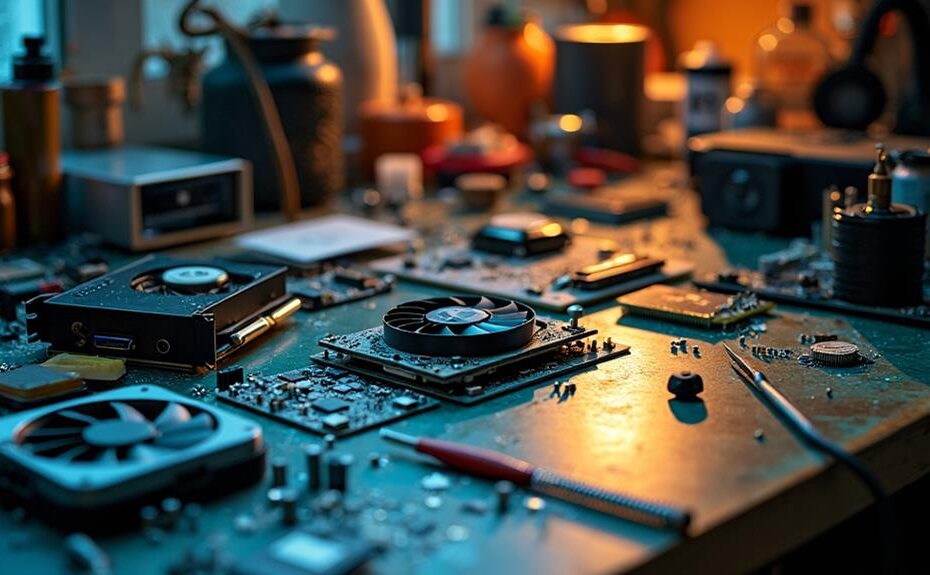
In a Mini-ITX build, choosing the right cooling solutions and guaranteeing proper airflow are essential for maintaining ideal performance. With limited space, selecting the right fans and heatsinks becomes essential for effective heat dissipation in compact builds. Efficient cooling systems and high thermal conductivity materials can greatly enhance heat management. Low-profile CPU coolers or compact liquid coolers are often necessary to fit within these restricted dimensions while still managing thermal output effectively.
It's critical to install fans with the correct orientation to prevent airflow issues that can lead to overheating. Always double-check the airflow direction indicated on the fan frames. Liquid cooling can offer great performance, but it poses its own challenges in Mini-ITX setups. You'll need to plan radiator placement and tubing routes carefully to avoid hindering airflow and guarantee peak cooling efficiency.
After you've set up your cooling solutions, monitoring internal temperatures is fundamental. The compact design of Mini-ITX builds can cause heat buildup, making effective airflow strategies even more important. By prioritizing your cooling solutions and airflow management, you can keep your custom Mini PC running smoothly and effectively.
Cable Management Challenges
Effective cable management is essential in Mini-ITX builds, where limited space often leads to cluttered interiors. The small size of these cases makes it tricky to route and conceal cables, which can obstruct airflow and increase heat buildup. This becomes particularly problematic when you're working with high-performance components that already generate considerable heat. Additionally, utilizing a compact design can help minimize the number of cables needed, further reducing clutter. Standard cables may be too long or cumbersome for your compact enclosure, requiring you to create new solutions with custom lengths or types. Unfortunately, many Mini-ITX cases lack adequate cable management features, such as tie-down points or dedicated channels, making organization even tougher. To tackle these challenges, planning your cable routing in advance is vital.
Utilizing zip ties or Velcro straps can greatly improve order and airflow within your build. By keeping cables neatly bundled and out of the way, you'll enhance cooling efficiency and overall performance. Remember, poor cable management not only looks messy but can also lead to overheating issues. So take the time to devise a strategy for your cables, ensuring that your Mini PC remains efficient and visually appealing.
Overclocking Considerations
Overclocking a Mini PC can significantly boost performance, but it comes with unique challenges due to the confined space. One of the primary concerns is thermal management; the limited airflow can lead to higher temperatures, making effective cooling solutions important. Upgrading to high-performance air or liquid cooling systems is often necessary to prevent overheating and maintain stability.
Choosing the right Mini-ITX motherboard is essential, as it must support overclocking features and have robust power delivery systems. Lower-quality boards may struggle with the increased demands of overclocked components, which can result in instability. You'll also need a power supply that can handle the extra load; aim for a quality PSU with 20-30% more wattage than your system's peak demand to guarantee adequate power during intense tasks.
Additionally, it's important to research the overclocking capabilities of your CPU and RAM. Each component has different tolerances for increased frequencies and voltages, so understanding these limitations is significant. Finally, don't forget to perform stability testing with tools like Prime95 or AIDA64 after making overclocking adjustments to confirm your system runs smoothly under load.
Testing and Troubleshooting Steps
After fine-tuning your Mini PC for peak performance, it's time to confirm everything runs smoothly. Start with thorough testing to check for boot failures and hardware conflicts. Make sure that the BIOS recognizes all components, as this is vital for system stability. Utilize diagnostic tools like POST cards to pinpoint issues during the boot process; they'll give you error codes that indicate specific hardware failures.
If you encounter problems, systematic troubleshooting is your best friend. Isolate components one at a time—such as the hard drive, clock speed settings, or memory slots—to identify the culprit behind any malfunctions. Keeping a detailed log of errors can streamline future troubleshooting efforts and serve as a valuable reference for similar issues.
Don't forget to monitor system temperatures and performance metrics regularly. This proactive approach helps detect overheating or component failures early, preventing long-term damage to your Mini PC. By following these testing and troubleshooting steps, you can confirm that your custom build operates seamlessly and efficiently, allowing you to enjoy the full benefits of your hard work.
Disclosure: As an Amazon Associate, I earn from qualifying purchases.