


“Setting up a Home Lab with Intel NUC: Tech With Emilio’s Guide” is a video by Tech With Emilio that walks you through the process of setting up a home lab using the Intel NUC mini PC. In this video, Emilio covers 10 steps to get the Intel NUC up and running with VMware. Some of the steps include setting up the NUC, installing VMware ESXi, adding a static IP, and building virtual machines. Emilio, a technology enthusiast from Melbourne, Australia, recommends the Intel NUC for home labs due to its small size and compactness. He also suggests using browser extensions like Guardio to enhance online security.
In the video, Emilio showcases his own home lab setup, which includes routers, firewalls, switches, storage, and Intel NUCs. He explains the components of the Intel NUC and provides detailed instructions on how to install additional hardware like RAM and solid-state drives. Emilio advises downloading the appropriate version of VMware ESXi and demonstrates how to create virtual machines and install operating systems like Windows and Linux on them. Throughout the video, he emphasizes the importance of resource management when running multiple virtual machines on the NUC. Emilio wraps up the video by offering links to purchase Intel NUCs and encourages viewers to subscribe to his channel for future tech-related content.

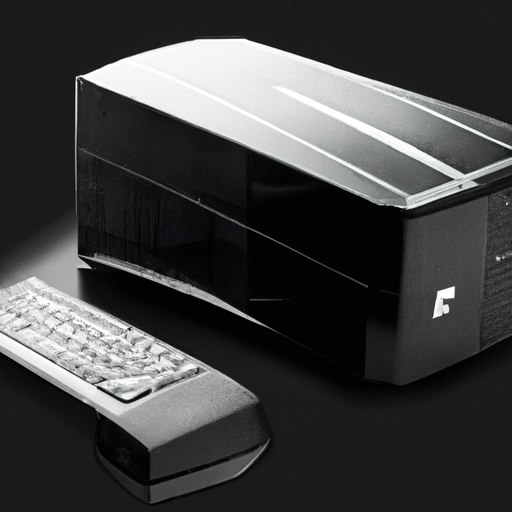
Choosing the Intel NUC
Why Intel NUC is preferred for home labs
If you’re looking to set up a home lab, the Intel NUC (Next Unit of Computing) should definitely be on your radar. These compact, yet powerful mini PCs have gained popularity among tech enthusiasts and professionals alike for several reasons. First and foremost, their small form factor makes them ideal for those with limited space or who prefer a clutter-free workspace. Additionally, Intel NUCs are known for their excellent performance, reliability, and versatility. Whether you’re interested in running virtual machines, experimenting with different operating systems, or even building a media server, the Intel NUC is up to the task.
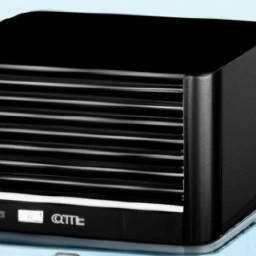
Understanding the components of the Intel NUC
Before diving into the process of buying and setting up an Intel NUC for your home lab, it’s essential to familiarize yourself with the different components of this mini PC. While the specific components may vary depending on the model you choose, some common features include an Intel processor, RAM slots, storage options (such as an M.2 SSD or a SATA drive bay), USB ports, HDMI or DisplayPort outputs, Ethernet port, and wireless connectivity options. Understanding these components will help you make informed decisions when it comes to buying and upgrading your Intel NUC.
Buying the Intel NUC
Where to buy the Intel NUC
When it comes to purchasing an Intel NUC, you have several options at your disposal. One of the most convenient ways to buy an Intel NUC is through online retailers such as Amazon, Newegg, or the official Intel website. These platforms often offer a wide range of models to choose from, allowing you to select the one that best suits your requirements. You can also visit local computer stores or contact authorized resellers if you prefer an in-person buying experience. Whichever route you choose, ensure that you read customer reviews and compare prices to make an informed decision.
What to consider when buying the Intel NUC
Before making a purchase, it’s essential to consider a few key factors to ensure that you choose the right Intel NUC for your home lab. Firstly, determine your specific requirements and the intended use of the NUC. This will help you decide on the necessary components, such as the processor, RAM capacity, and storage options. Additionally, consider the connectivity options available on the NUC, as it should align with your networking needs. Lastly, set a budget and compare the prices of different models to find the best value for your investment.
Setting Up the Intel NUC
Unboxing and understanding what’s included
Once you’ve purchased your Intel NUC, it’s time to unbox it and familiarize yourself with the contents. Inside the box, you will find the Intel NUC itself, a power adapter, an HDMI or DisplayPort cable, and any additional accessories or documentation that may vary depending on the specific model you chose. Take a moment to carefully inspect each item and ensure that nothing is missing or damaged.
Installing additional hardware such as RAM and SSD
While the Intel NUC comes with some essential components pre-installed, such as the processor and storage, it’s worth considering upgrading certain hardware to enhance the performance of your home lab. One common upgrade that many users opt for is installing extra RAM to increase the system’s memory capacity. Upgrading the storage by adding an additional SSD is also a popular choice, as it provides more space to run virtual machines and store data. Refer to the user manual or Intel’s website for detailed instructions on how to install these hardware upgrades correctly.
Preparation for Installing VMware ESXi
Choosing the appropriate version of VMware ESXi
Before installing VMware ESXi on your Intel NUC, you need to determine which version is best suited for your needs. VMware offers various editions of ESXi, each with its own set of features and licensing requirements. If you’re setting up a home lab, the free version of ESXi, known as VMware ESXi Hypervisor, may be sufficient for your needs. However, if you require advanced features or plan to use the NUC for commercial purposes, you might want to consider purchasing a more feature-rich edition such as VMware ESXi Enterprise Plus.
Downloading the VMware ESXi software
Once you’ve decided on the appropriate edition of VMware ESXi, head to the official VMware website to download the software. Look for the download page specifically dedicated to the version you’ve chosen. Make sure to double-check the system requirements and compatibility of the ESXi version with your Intel NUC model. Download the installer file and save it to a location on your computer where it’s easily accessible for later use.
Creating a bootable USB stick using Rufus
To install VMware ESXi on your Intel NUC, you will need to create a bootable USB stick that contains the ESXi installer. One popular tool for creating bootable USB drives is Rufus, which is available for free. After downloading and installing Rufus on your computer, insert a USB stick with sufficient storage capacity. Ensure that the USB stick is empty, as Rufus will format it during the process. Open Rufus and select the USB stick from the Device dropdown menu. Choose the ESXi installer file you downloaded earlier by clicking the “Select” button next to the Boot selection option. Finally, click “Start” to initiate the creation of the bootable USB stick.
Disclosure: As an Amazon Associate, I earn from qualifying purchases.