


To upgrade storage in a mini PC, power off and unplug it. Carefully open the case with appropriate tools. Note layout to locate storage devices. Disconnect old storage and secure new one in place. Migrate data over for better performance. Format the new storage correctly. Connect the new drive, address compatibility, and monitor data transfer speed. Neatly manage cables inside. Secure the casing and verify all components are in place. Check compatibility, display capacity, and evaluate read/write speeds. Your Mini PC has endless potential once its storage is upgraded.
Key Takeaways
- Choose compatible storage hardware for performance.
- Back up data before upgrading storage.
- Open the mini PC case carefully.
- Install and format the new storage device correctly.
- Test the upgraded storage for performance and capacity.
Benefits of Upgrading Storage
Upgrading storage in a mini PC can greatly enhance its performance and efficiency, enabling faster data access and improved multitasking capabilities. By upgrading the storage capacity of your mini PC, you can experience increased performance with quicker boot times, faster application loading, and smoother overall system operations. With expanded capacity, you have the flexibility to store more files, software, and media without worrying about running out of space. This not only improves the performance of your mini PC but also allows you to work on larger projects or store more data-intensive files. Additionally, upgrading the storage in your mini PC can lead to enhanced productivity, as you spend less time waiting for files to load or transfer. The increased performance and expanded capacity resulting from upgrading the storage in your mini PC contribute greatly to a more efficient and seamless computing experience.

Choosing the Right Storage Hardware
Enhance the performance and efficiency of your mini PC by selecting the appropriate storage hardware that aligns with your storage needs and system requirements. When choosing the right storage hardware, consider the available storage options, compatibility, performance, and capacity.
Start by examining the storage options available for your mini PC. Solid State Drives (SSDs) are known for their faster read and write speeds compared to traditional Hard Disk Drives (HDDs), enhancing overall system performance. M.2 NVMe SSDs offer even faster speeds, ideal for demanding tasks.
Verify compatibility with your mini PC by checking factors such as form factor and interface. M.2 and 2.5-inch SATA drives are common options, but confirm that your mini PC supports the chosen storage hardware.
Capacity is vital when selecting storage. Choose a capacity that meets your storage needs without overkill. Balancing performance with capacity ensures ideal functionality for your mini PC. Research thoroughly to find the best storage solution for your specific requirements.
Backing Up Your Data

Consider implementing a thorough data backup strategy to safeguard your important files and guarantee data integrity on your mini PC. Start by performing regular data migration to make certain that your files are constantly updated and secured. Utilizing cloud storage services can provide an off-site backup solution, offering accessibility and protection against data loss. External backups are also vital; use external hard drives or USB drives to regularly back up your data. This adds an extra layer of security and ensures that your files are safe in case of hardware failure. When setting up your backups, prioritize data security by encrypting sensitive information to prevent unauthorized access. Remember to test your backups periodically to verify their integrity and reliability. By having a thorough data backup plan in place, you can minimize the risk of losing important files and maintain the safety of your data on your mini PC.
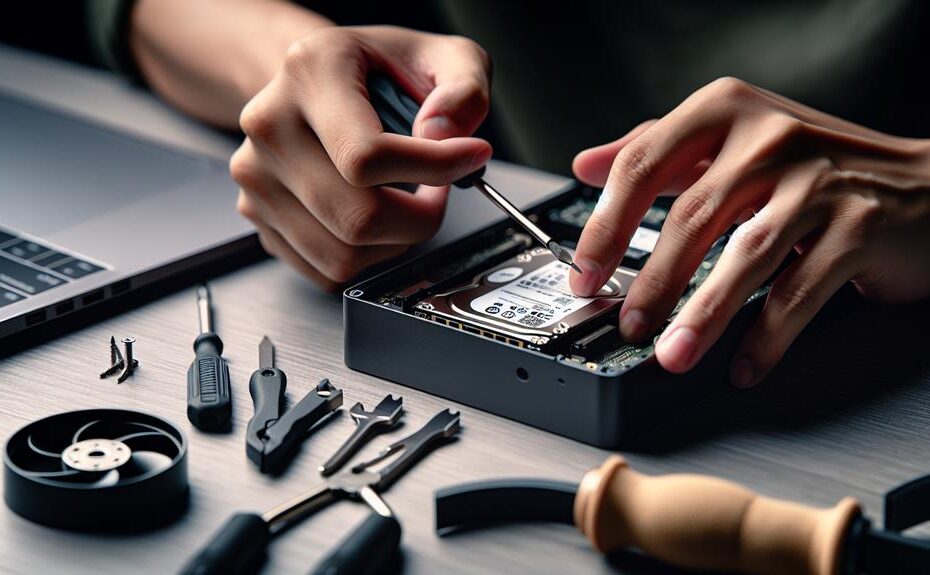
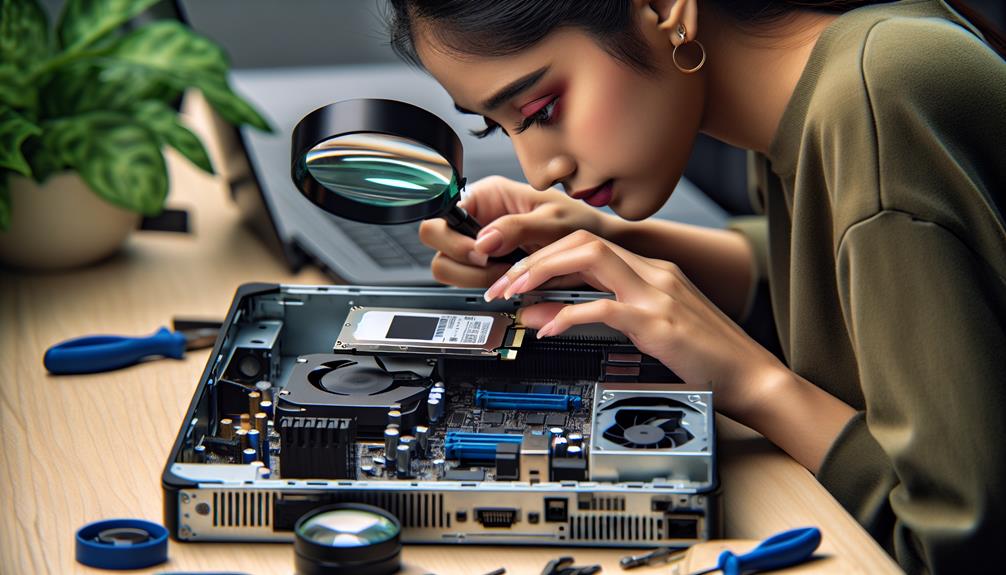
Opening the Mini PC Case
To access the internal components of your mini PC, you will need to open the case carefully using the appropriate tools and following proper procedures. Before proceeding, make sure the mini PC is powered off and unplugged. Check the manufacturer's guide to determine the specific steps required for your model, as designs can vary. Use a screwdriver to remove the screws holding the case together. Be cautious not to force the case open, as this could damage the components inside. Once the case is open, take note of the layout to understand where the storage devices are located. Confirm any new hardware you plan to install is compatible with your mini PC to avoid any issues. When opening the case, also pay attention to cable management inside. Properly organize and route cables to ensure good airflow and prevent any interference with the components. This step will make it easier to access and replace storage devices later on.
Installing the New Storage Device
When installing the new storage device in your mini PC, make sure that it is compatible with your model and closely follow the manufacturer's guide for proper installation steps. To begin, power off your mini PC, unplug all cables, and open the case following the steps outlined earlier. Locate the existing storage device and disconnect it carefully. Next, insert the new storage device into the appropriate slot, ensuring a secure connection. Once the new storage is in place, you may need to migrate your data from the old storage device to the new one. This process involves transferring your files, operating system, and applications to the upgraded storage for seamless use. By upgrading your storage, you can experience significant performance improvements, such as faster data access and enhanced overall system responsiveness. Remember to handle the installation process with care to avoid any damage to your mini PC components.
Formatting the New Storage
To properly prepare the new storage device for use, you should begin by formatting it using the recommended file system. Formatting the new storage is essential before proceeding with data migration and partition setup. When formatting, you have various options for file system types, such as NTFS, FAT32, exFAT, and APFS, depending on the operating system and the intended use of the storage device.

Before choosing a file system, consider factors like compatibility with the devices you plan to use the storage with and the size of files you intend to store. For Windows systems, NTFS is a common choice due to its support for large file sizes and robust security features. FAT32 is more universal but comes with limitations on file size. exFAT offers a balance between the two, providing compatibility across different platforms. For macOS, APFS is optimized for solid-state drives and offers features like encryption and snapshot capabilities. Ensure you select the most suitable file system type for your needs to optimize the performance and usability of your new storage.
Transferring Data to the New Drive
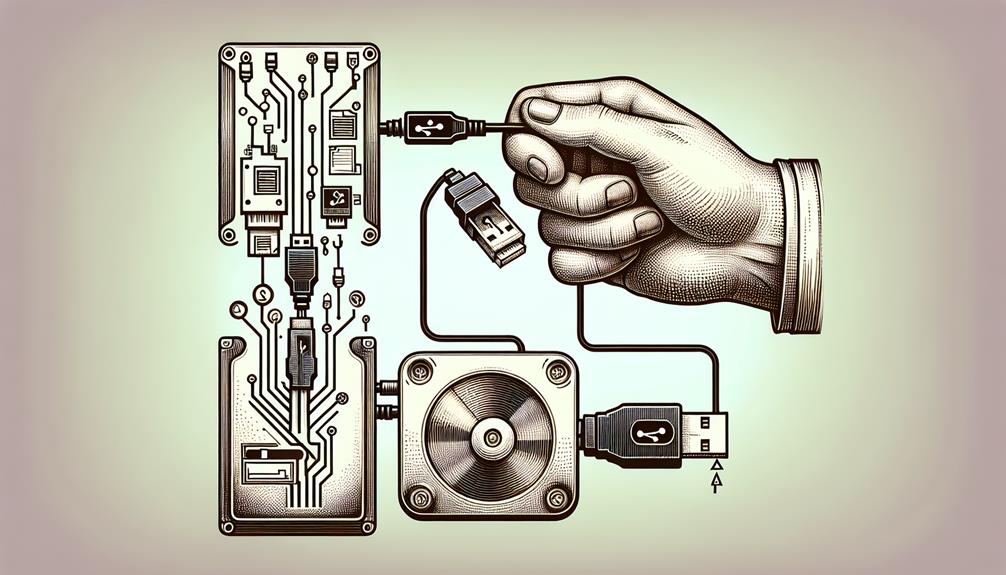
Consider utilizing specialized data transfer software for efficient migration of your files to the new drive. To initiate the data migration process, connect the new drive to your Mini PC. Launch the software and follow the on-screen instructions to select the source (old drive) and destination (new drive) for the data transfer. Make sure that both drives are recognized by the software before proceeding.

During the transfer, keep an eye out for any compatibility issues that may arise. Some software tools automatically handle these, but it is crucial to review any notifications or prompts that appear. Compatibility issues could lead to data corruption if not addressed promptly. Additionally, monitor the data transfer speed to gauge the process's efficiency. If the speed seems unusually slow, troubleshoot by checking the connections and verifying both drives are functioning correctly.
Closing Up the Mini PC
For a secure and tidy fit, carefully reassemble the components of your Mini PC after upgrading the storage. Begin by making sure all cables are neatly managed to avoid interference with fans or other components. Double-check that the new storage drive is securely in place and all connections are properly seated.
Next, proceed to secure the screws that hold the Mini PC's casing together. Be certain not to overtighten them, as this could damage the casing. Once all screws are in place, gently press on the casing to ensure it's properly aligned before tightening the final screws.
Lastly, add the finishing touches by verifying that all components are back in their original positions. This includes any additional components you may have removed during the upgrading process. Once everything is in place, it's time to power on your Mini PC and make sure that it boots up successfully. If all is functioning as expected, congratulations on successfully upgrading the storage in your Mini PC!
Testing the Upgraded Storage
After upgrading the storage in your Mini PC, the next step is to test the new storage drive to make sure it functions correctly. Begin by conducting a compatibility check to guarantee that the upgraded storage is recognized by the system. Verify that the storage capacity is accurately displayed in the operating system.
Next, proceed with performance testing to evaluate the read and write speeds of the new storage drive. Use benchmarking software to measure the data transfer rates and compare them to the expected performance of the storage drive. This step is essential to confirm that the upgraded storage is operating at peak levels.
Additionally, consider migrating data from the old storage drive to the new one. This process involves transferring files, applications, and settings to the upgraded storage to seamlessly continue using your Mini PC with the new storage configuration. Make sure that all data is successfully migrated and accessible on the upgraded storage drive before considering the upgrade process complete.
Disclosure: As an Amazon Associate, I earn from qualifying purchases.