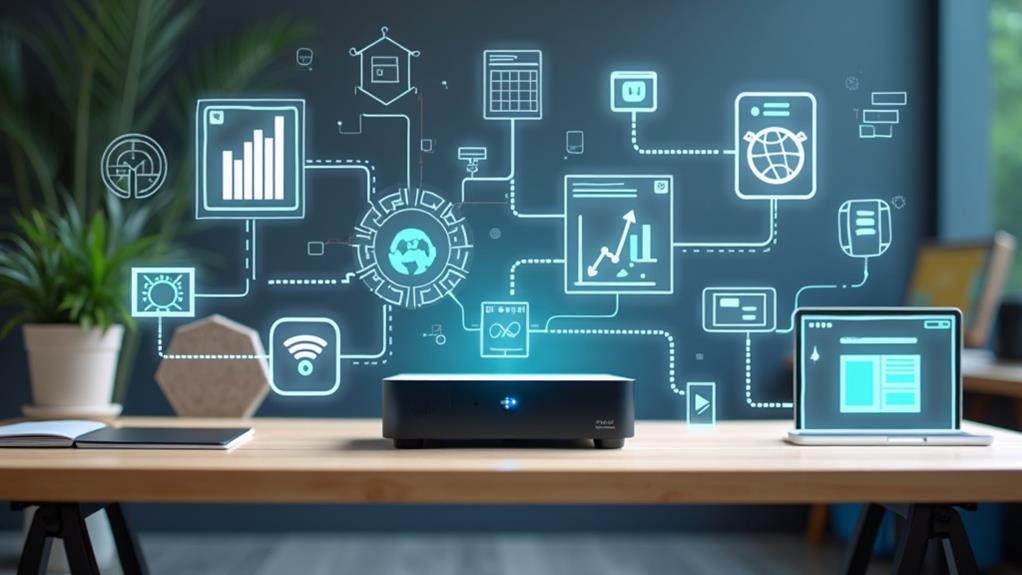


As you unbox your new mini PC, you're probably zealous to get started. But before you can immerse into the world of compact computing, you'll need to set it up properly. You'll need to inspect the device's ports, guarantee proper ventilation, and connect the necessary cables – including power, HDMI, and Ethernet. Once you've got everything hooked up, it's time to power on and follow the on-screen instructions to set up the operating system. But that's just the beginning – you'll still need to configure Wi-Fi, create user accounts, and install software. Get ready to take the first steps in releasing your mini PC's full potential.
Key Takeaways
- Inspect the mini PC's contents, verifying the presence of all accessories and proper ventilation.
- Connect the necessary cables, including power, HDMI, and Ethernet, taking care to secure the Wi-Fi antenna if applicable.
- Place the mini PC on a stable surface with adequate ventilation and connect necessary peripherals before the initial power-on.
- Follow on-screen instructions to set up the operating system and configure basic settings like date and time.
- Set up user accounts, including an administrator account with a secure password, and enable automatic updates for a smooth start.
Preparing the Mini PC
Preparing the Mini PC
To guarantee your mini PC is ready for use, begin by unpacking the device from its box and inspecting the contents to ascertain that all components and accessories, such as the power supply, HDMI cable, and mounting bracket, are included. Validate that any manufacturer-provided documentation, such as a user manual, is present and reviewed. This documentation can prove invaluable for troubleshooting and setup guidance.

Next, verify the mini PC's ports, including USB and HDMI. These ports are essential for connecting peripherals such as a keyboard, mouse, and monitor. Additionally, examine the device for ventilation to corroborate efficient cooling during operation.
Connecting the Cables
Connect the power supply to both the mini PC and a wall socket, guaranteeing the cable is securely plugged in and the unit is powered up correctly. This is the first pivotal step in a trouble-free setup. Next, locate the HDMI or DisplayPort on the back of the mini PC and connect it to your monitor. Make sure the cable is firmly secured at both ends to prevent signal loss or disconnection issues.
If your mini PC has a built-in Wi-Fi antenna, confirm it is securely attached to the back or the top of the device as specified in the manual. This will guarantee a stable internet connection. If you are using a wired internet connection, connect the Ethernet cable to the mini PC and your router as per your network setup.
Lastly, if you have an external hard drive connected, plug in the power cable and connect it to the mini PC via USB or another supported interface. This will allow you to access additional storage for your files and data. Follow these steps precisely to guarantee all cables are connected correctly and your mini PC is ready to be set up and used smoothly.
Initial Power-On Procedure
When you first power on your mini PC, guarantee it is placed on a stable surface with adequate ventilation, then connect the necessary peripherals like monitors, keyboard, and mouse to the mini PC's ports. Make certain you have connected the power supply correctly. Upon pressing the power button, your mini PC will begin its initial boot process, which may take several minutes to complete.
Once the boot process is finished, you will be guided through the setup of your operating system, such as Windows 11. During this process, you will need to connect to the internet. This will allow the system to automatically download any necessary updates. Make sure to follow the on-screen instructions carefully, as these will guide you through the setup of your region, language, and other basic settings.
During the setup process,you may be prompted to install additional software or drivers. These are pivotal for fully configuring your mini PC for its intended use. Make sure to install these updates as instructed, as they will enhance the performance and functionality of your mini PC. With these steps completed, your mini PC will be up and running, ready for you to explore its capabilities.
Setting Up Wi-Fi
To guarantee continuous communication and flexibility, you will need to set up your mini PC's Wi-Fi connection, which will allow you to access the internet wirelessly. Once you have powered on your mini PC for the first time, navigate to the Windows settings to manage your Wi-Fi configuration. Here, you will find a list of available Wi-Fi networks. Connect to your preferred network by selecting it and entering the required password to authenticate and secure your connection.
After connecting, check the network status icon in the system tray to verify that the connection was successful. Properly position the Wi-Fi antenna on your mini PC to optimize signal strength and coverage. If necessary, you can also explore advanced settings through the Windows Network and Sharing Center to manage specific network configurations like connecting to a hidden network or setting a static IP address. By following these steps, you will establish a reliable Wi-Fi connection for your mini PC, granting you access to the internet without the need for physical cables, which is particularly useful in situations where portability is important.
User Account Configuration
Configure a user account with administrator privileges to manage all system settings effectively. This will give you full control over your mini PC, allowing you to customize it to your preferences. To create an administrator account, go to the Settings app, click on 'Accounts,' and then select 'Family & other users.' Click 'Add someone else to this PC' and follow the prompts to create a new user account. Ensure to select the 'Administrator' option to grant the necessary privileges.
Next, set up a secure password policy to protect your account from unauthorized access. Go to 'Account settings' and click on 'Sign-in options.' Enable password complexity requirements and set a regular password change schedule to guarantee your account remains secure. You can also customize your user account settings, such as display name, profile picture, and default file locations, to personalize your experience.
With your user account set up, you can now take advantage of your AMD Ryzen-powered mini PC's features. Enable automatic Windows and driver updates to keep your system up-to-date and secure. Finally, customize your default apps and startup programs to align with your workflow and preferences. By following these steps, you'll have a fully configured user account that's secure, personalized, and optimized for performance.
Installing Pre-Loaded Software
Once you have your mini PC with pre-installed software, such as the Windows 11 operating system, you can utilize software customization tools to quickly install common applications and programs onto the pre-loaded system. You can see how using tools like NineNinjas simplifies the process by enabling you to choose and install various applications automatically. After personalizing the default theme and settings to your preferences, you can then integrate additional software.

For enhancing the user experience and utilizing your mini PC for gaming or multimedia tasks, you might want to configure your AMD Radeon graphics card settings. Guarantee proper configuration for ideal performance. Finally, for those who need the option of using multiple operating systems, you can consider installing a virtualization platform like VirtualBox. This setup will allow you to run multiple environments on your mini PC, making it even more versatile.
Customizing the System
Now that you have streamlined the installation process with tools like NineNinjas, you can proceed to fine-tune your mini PC by customizing its Windows 11 theme and desktop layout to match your personal preferences. To customize the Windows 11 theme, navigate to the Start menu and open Settings. Then, click on Personalization, followed by Themes. Here, you can select a pre-installed theme, download new ones from the Microsoft Store, or import your own custom theme. Additionally, you can change the background, color, or accent colors to create a cohesive and visually appealing interface.
Next, adjust the desktop layout to enhance productivity. Right-click on the desktop, select 'View,' and choose from options such as 'Small icons,' 'Medium icons,' or 'Large icons' to optimize the display for better navigation. Furthermore, you can relocate icons and files to minimize clutter. This customization will allow you to work more efficiently on your mini PC.

Integrating With Existing Setup
Integrate your mini PC into your existing setup by connecting it to your current peripherals and leveraging multi-display capabilities. A key aspect of this integration is utilizing a keyboard, video, and mouse (KVM) switch. This enables seamless switching between your mini PC and Mac, ensuring a smooth change between your two ecosystems.

To maximize your workstation efficiency, a dual monitor setup is highly recommended. Connect each monitor to both systems, ensuring you can take advantage of the additional screen real estate. This multi-monitor configuration enhances your productivity and workflow, allowing you to efficiently manage multiple tasks across both your Windows and macOS environments.
Streamlining your peripherals is also important. Connect your speakers, keyboard, and mouse to both systems using a KVM switch or USB switcher. This setup minimizes the need for constant plugging and unplugging, making your change between the two systems more convenient.
Final Steps and Setup Review
Following the integration of your mini PC into your existing setup, you need to check the mini PC for any firmware updates to guarantee seamless performance and security. Ensuring that your mini PC is current with the latest firmware is indispensable for optimal performance and to minimize potential vulnerabilities. Begin by connecting to the internet and checking for available updates through the mini PC's settings or the manufacturer's interface. Download and install any updates, then reboot your mini PC.
Next, perform a stress test to verify that your mini PC is functioning correctly. Please note that the mini PC may reboot once or twice during this process. After completing the test, log back into Windows to confirm that everything is working as expected.
Regularly maintaining your mini PC is essential for longevity and performance. Regularly clean dust from vents and perform disk cleanups to keep your system running smoothly. Create a schedule to check for firmware updates, allowing your mini PC to stay current and protected.
Frequently Asked Questions
How to Start a Mini Pc?
To start a mini PC, unpack it, connect necessary cables, turn it on, and follow the on-screen guide to select your language, set up Wi-Fi, and create a user account.
What Is the Point of a Mini Pc?
Mini PCs cater to your diverse needs like a versatile Swiss Army knife, offering powerful performance in tasks like web browsing and media playback while being energy-efficient. They suit home, office, or industrial use cases.
Do You Need a Monitor for a Mini Pc?
You don't strictly need a monitor for a mini PC, but having one is recommended for initial setup, and often useful if not always required.
Does a Mini PC Work the Same as a Pc?
You set up a mini PC with similar hardware as a regular PC. The mini PC hardware includes a compact CPU, motherboard, memory, and storage connected via USB and HDMI, ensuring compatible performance.
Conclusion
You've reached the finish line With your mini PC up and running, you've successfully navigated the setup process. Like a conductor leading an orchestra, you've harmoniously brought together hardware and software, creating a symphony of productivity. Take a deep breath, pat yourself on the back, and get ready to harness your mini PC's full potential.
Disclosure: As an Amazon Associate, I earn from qualifying purchases.