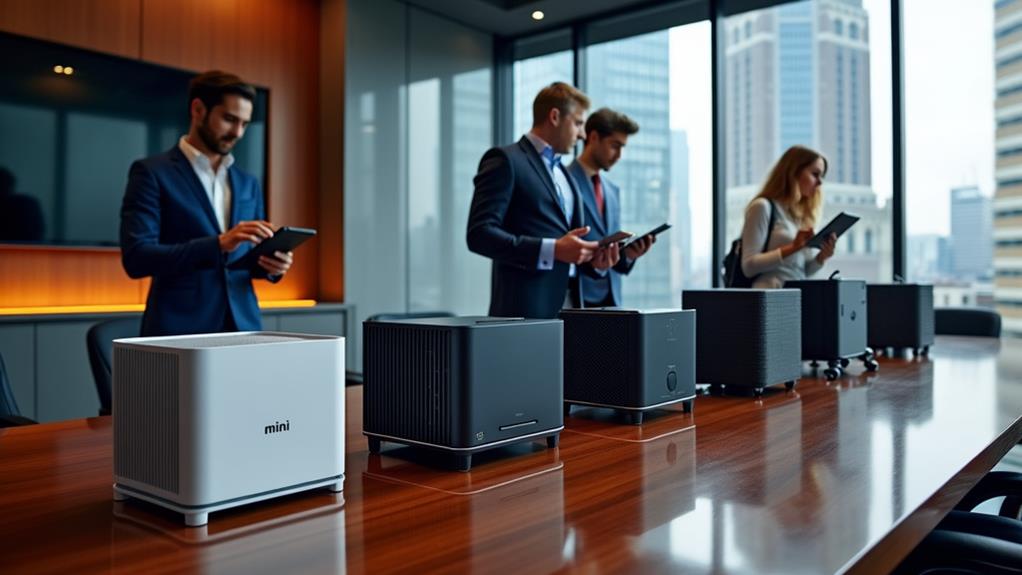


So you’ve just purchased a sleek and compact mini PC, but now you’re faced with the task of finding the perfect spot to mount it on your wall. Don’t worry, we’ve got you covered! In this article, we’ll explore different methods and techniques to securely mount your mini PC to the wall, ensuring both practicality and aesthetics. Whether you’re looking to save desk space in your home office or create a sleek multimedia setup in your living room, we have all the tips and tricks you need to achieve a secure and stylish wall-mounted installation. Let’s get started!
Important Factors to Consider
Size and Weight of the Mini PC
When considering wall mounting a mini PC, it is essential to take into account the size and weight of the device. The wall mount should be able to safely support the weight of the mini PC and provide a secure hold. Ensure that you have the accurate measurements of the mini PC before selecting the appropriate wall mount.
Wall Material and Strength
The type of wall you have will play a crucial role in determining the type of mounting option you can choose. Different wall materials, such as drywall, concrete, or brick, require different mounting techniques. Additionally, it is essential to ensure that the wall is structurally sound and capable of supporting the weight of the mini PC and the wall mount.
Location and Accessibility
Choosing the right location for wall mounting the mini PC is crucial for both convenience and functionality. Consider a location that is easily accessible for maintenance and cable management. Additionally, take into account the proximity to power outlets and other devices to ensure seamless connectivity.
Ventilation and Cooling
Proper ventilation and cooling are vital to prevent overheating of the mini PC. When wall mounting, ensure that there is sufficient airflow around the device to dissipate heat effectively. Consider the design of the wall mount and how it allows for airflow and heat dissipation. This is particularly important if the mini PC is being used for resource-intensive tasks.
Types of Wall Mounts
VESA Mounts
VESA mounts are a popular choice for wall mounting mini PCs. These mounts are compatible with most monitors and offer a simple and secure installation process. VESA mounts typically have multiple mounting holes that allow for flexibility in adjusting the height and angle of the mini PC.
Bracket Mounts
Bracket mounts are another common option for wall mounting mini PCs. These mounts usually consist of two brackets that attach to the wall and the back of the mini PC. Bracket mounts offer a sturdy and secure solution while also allowing for easy access to the device for maintenance purposes.
Wall Shelves
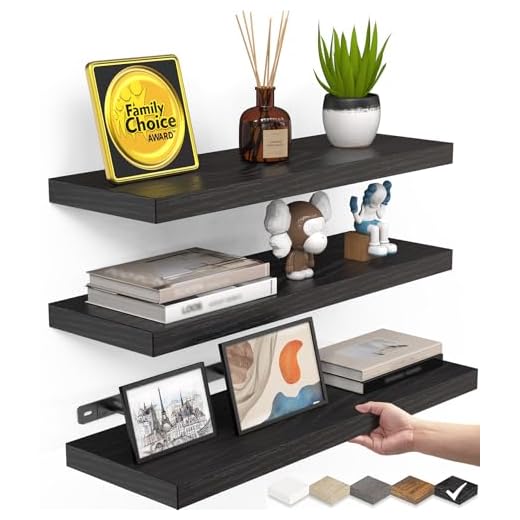
Wall shelves provide a convenient and flexible solution for wall mounting a mini PC. These shelves can be easily installed at the desired height and offer a flat surface to place the mini PC. Wall shelves are particularly useful when space is limited, as they do not require additional mounting hardware.
Floating Mounts
Floating mounts offer a sleek and minimalist look for wall mounting mini PCs. These mounts use hidden brackets or adhesive pads to attach the mini PC directly to the wall, giving the illusion that it is floating. Floating mounts are a great choice for those who prioritize aesthetics and want to create a clean and clutter-free workspace.
Essential Tools and Equipment
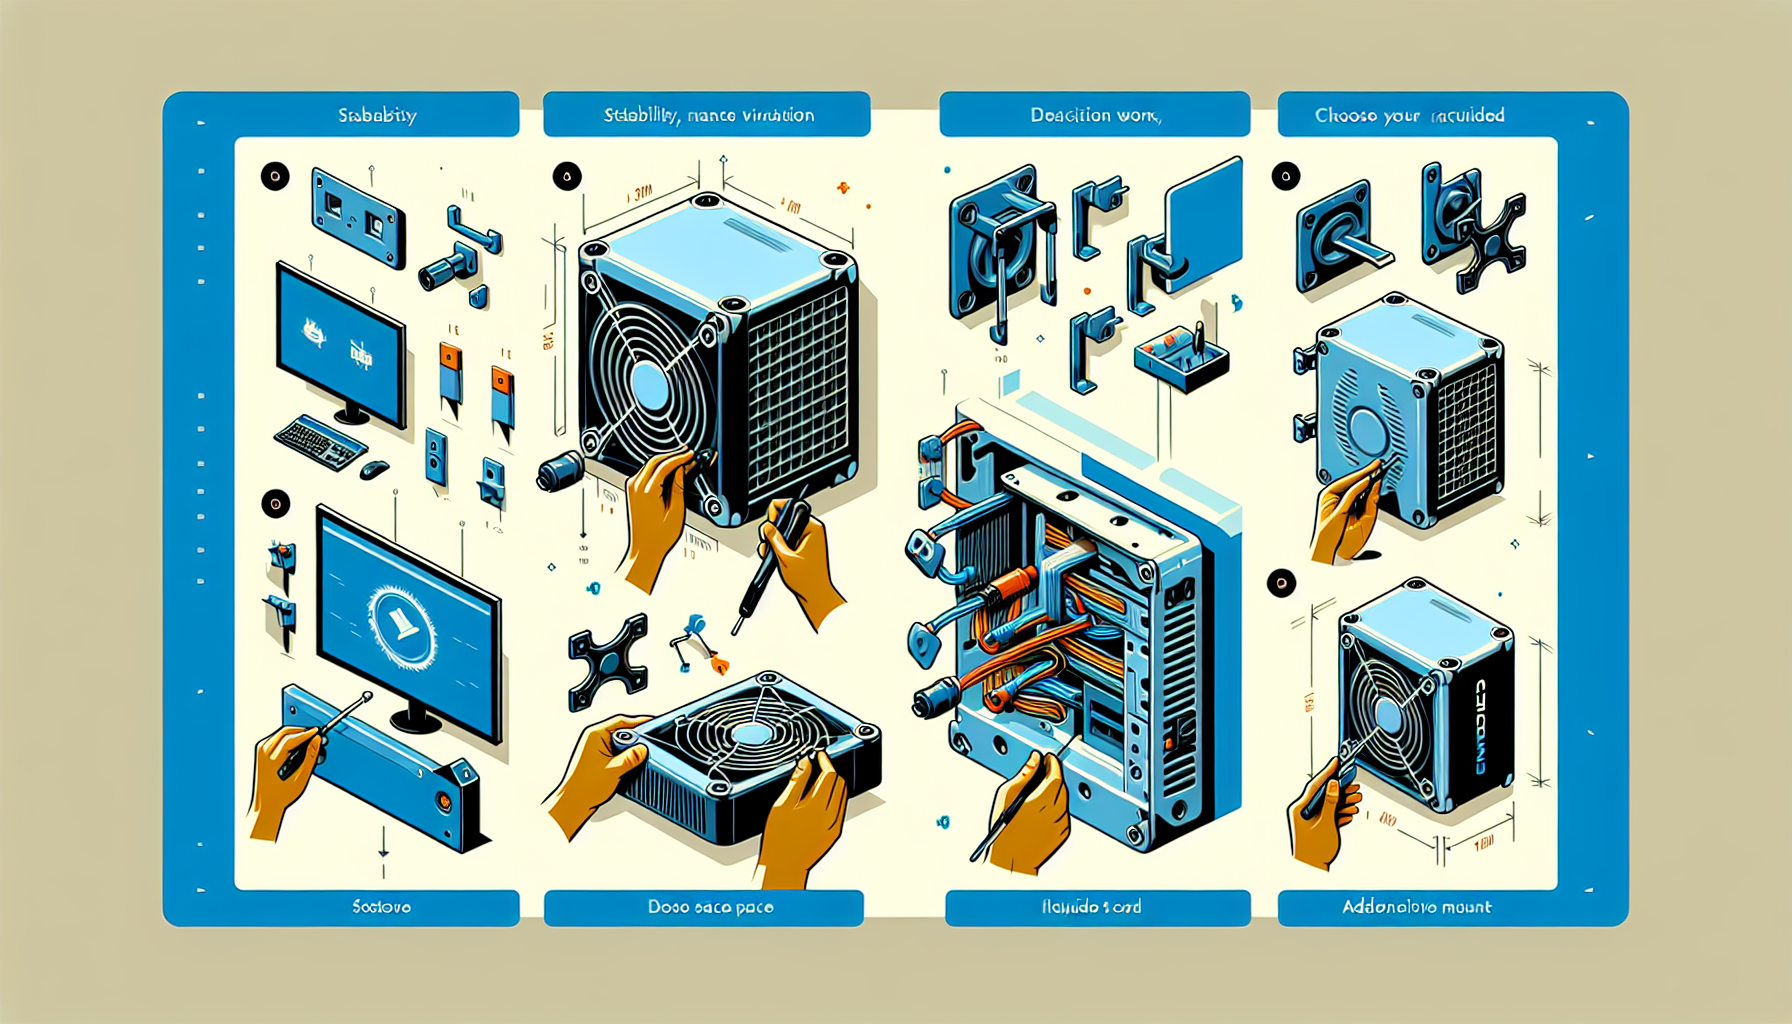
Screwdriver
A screwdriver is one of the essential tools needed for wall mounting a mini PC. It is used to tighten screws and ensure a secure hold between the wall mount and the mini PC.
Drill
A drill is necessary when mounting a mini PC on certain wall materials, such as concrete or brick. It is used to create holes for anchors or screws that provide a sturdy attachment.
Level
A level is essential for ensuring that the wall mount is installed straight and level. It helps achieve a professional and aesthetically pleasing look while also providing stability.
Stud Finder
A stud finder is a useful tool for locating wall studs, which are crucial for securely mounting the mini PC. It helps identify the strongest points on the wall where the mount will have the most secure hold.
Step-by-Step Guide
Determine the Mounting Location
Begin by carefully selecting the mounting location for your mini PC. Consider factors such as accessibility, cable management, and the availability of power outlets. Use a tape measure to ensure that the chosen location can accommodate the size of your mini PC comfortably.
Locate Wall Studs
Use a stud finder to detect the location of wall studs within the selected mounting area. Wall studs provide the most secure anchoring points for the mount. Mark the stud locations with a pencil for easier reference during the installation process.
Attach the Wall Mount
Depending on the type of wall mount chosen, follow the manufacturer’s instructions for installation. This may involve using screws, anchors, or adhesive pads. Use a level to ensure that the mount is installed straight and aligned with the marked stud locations.
Securely Mount the Mini PC
Once the wall mount is securely attached, carefully position the mini PC onto the mount. Depending on the type of mount, there may be brackets, hooks, or screws involved in securing the mini PC. Follow the manufacturer’s instructions to ensure a proper and secure attachment.
Testing and Adjusting
After mounting the mini PC, it is important to test its stability and make any necessary adjustments. Gently shake the mini PC to ensure it is firmly attached to the wall mount. If there is any wobbling or instability, double-check the mount’s installation and make necessary adjustments for a secure and stable setup.
Alternative Mounting Options
Under-Desk Mount
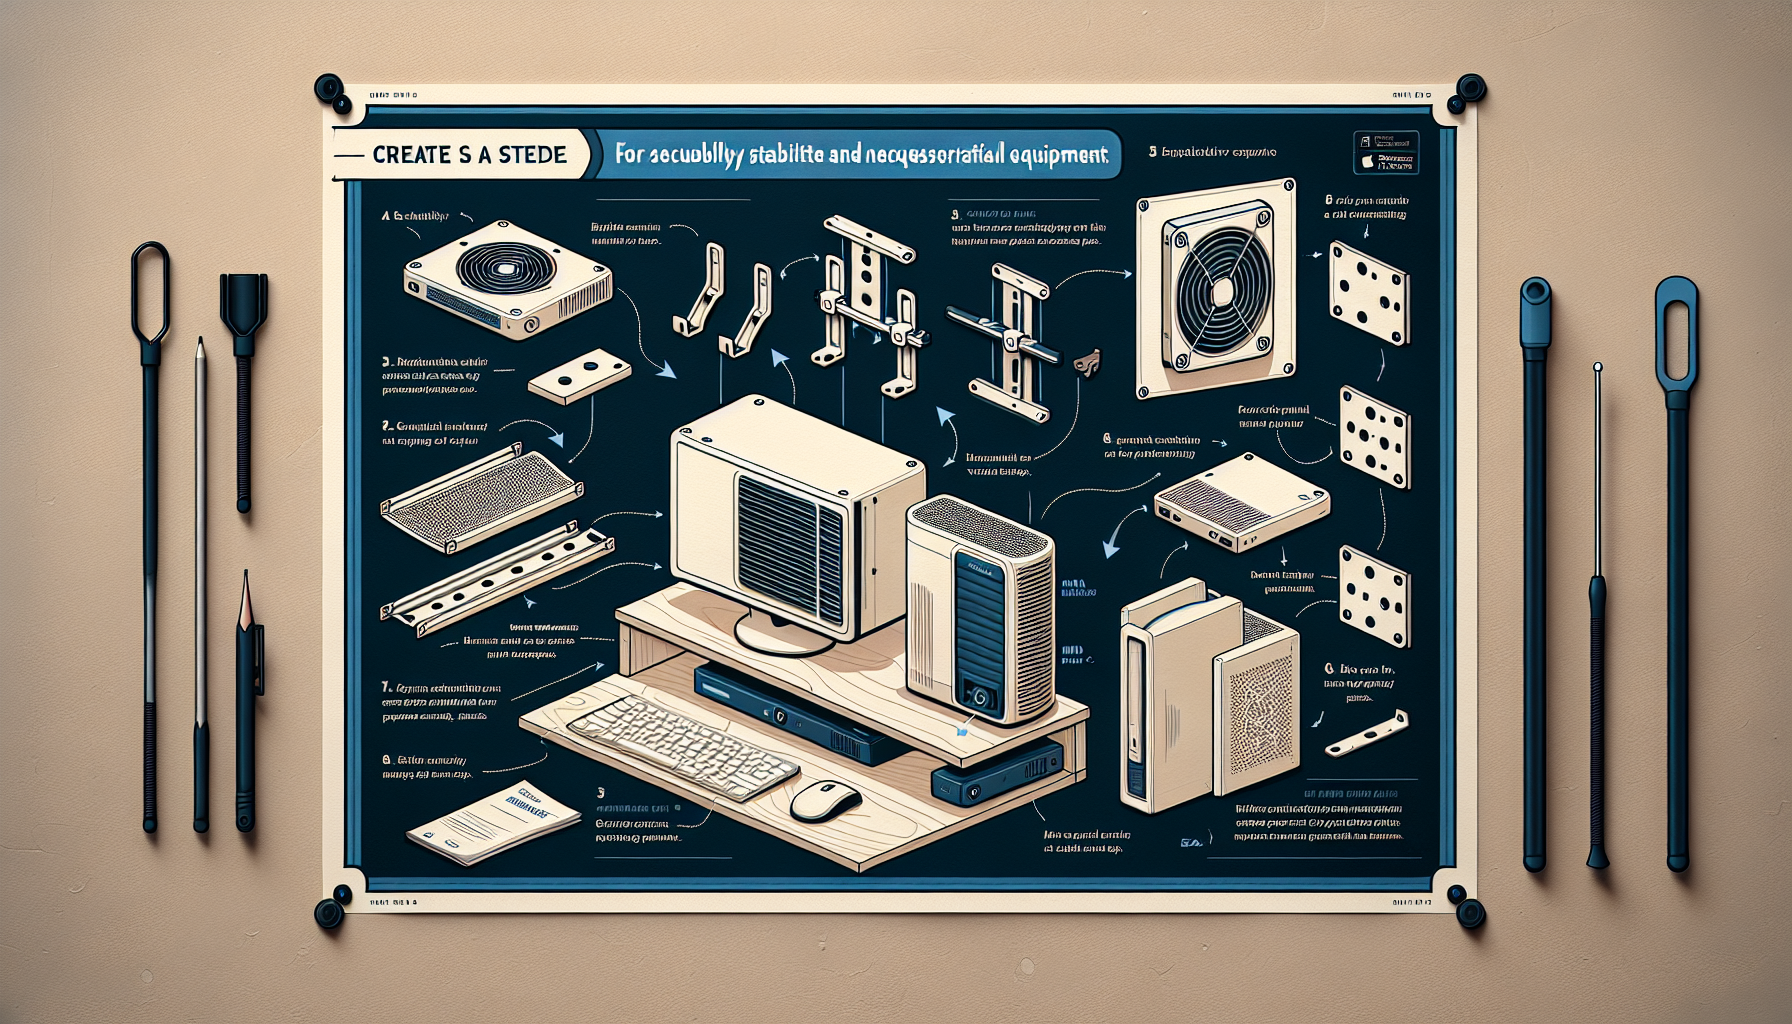
An under-desk mount provides an alternative solution for those who prefer not to mount their mini PC on the wall. These mounts typically attach the mini PC under a desk or tabletop, keeping it hidden and out of the way.
Monitor Mount
Some monitors come with integrated mini PC mounts. If you have a compatible monitor, this can be a convenient option for wall mounting your mini PC. It eliminates the need for a separate mounting solution and provides a streamlined setup.
Cable Concealer
A cable concealer is a useful accessory when wall mounting a mini PC. It helps hide and organize the cables, creating a clean and organized appearance. Cable concealers can be mounted onto the wall, keeping the cables neatly tucked away.
Custom Enclosure
For those looking for a more customized solution, a custom enclosure can be created to house the mini PC. These enclosures are designed to fit specific mini PC models and can be mounted onto the wall. They provide a secure and tailored solution for wall mounting.
Tips for Proper Mounting
Use High-Quality Mounting Hardware
Invest in high-quality mounting hardware to ensure the stability and security of the mini PC. Cheap or low-quality hardware can compromise the integrity of the mount and put your mini PC at risk.
Ensure Proper Cable Management
Take the time to organize and manage the cables when wall mounting a mini PC. This not only improves the aesthetics but also minimizes the risk of accidental damage to the cables. Utilize cable management solutions such as cable clips or cable ties to keep the cables neat and tidy.
Consider Accessibility for Maintenance
When choosing the mounting location, consider the ease of access for maintenance and upgrades. Ensure that you can easily reach the mini PC for cleaning, cable adjustments, and any necessary repairs or upgrades.
Keep Sufficient Airflow Around the Mini PC
Proper airflow is essential for maintaining optimal performance and preventing overheating. When wall mounting a mini PC, ensure that there is sufficient space around the device for proper ventilation. Avoid placing the mini PC in enclosed spaces or obstructing the airflow vents.
Maintenance and Troubleshooting
Regular Dusting and Cleaning
Regularly dust and clean the mini PC to prevent dust buildup, which can affect performance and cooling. Use a soft cloth or compressed air to remove dust from the vents and other surfaces.
Check Connections and Tighten Screws
Periodically check the connections between the mini PC and the wall mount to ensure they are secure. Tighten any loose screws or brackets to maintain stability and prevent any potential accidents.
Monitor Temperature and Cooling
Keep an eye on the temperature of the mini PC, especially during resource-intensive tasks. Use monitoring software or hardware to track the temperature and ensure that it is within safe limits. If necessary, adjust the cooling setup to maintain optimal performance.
Addressing Potential Issues
If you encounter any issues with your wall-mounted mini PC, troubleshoot the problem systematically. Check the connections, ventilation, and cable management. If the issue persists, consult the manufacturer’s guidelines or seek professional assistance.
Benefits of Wall Mounting a Mini PC
Space Saving
Wall mounting a mini PC helps free up valuable desk space, creating a more organized and efficient workstation. With the mini PC securely attached to the wall, you can maximize the usable area on your desk for other tasks or devices.
Improved Security
By mounting the mini PC on the wall, you reduce the risk of theft or accidental damage. Having it elevated and out of reach makes it less susceptible to tampering or accidental spills, providing an added layer of security and protection.
Better Cable Management
Wall mounting allows for better cable management, which leads to a cleaner and more professional appearance. By organizing and hiding the cables, you can achieve a clutter-free workspace and eliminate the hassle of tangled cords.
Enhanced Aesthetics
Wall mounting a mini PC can significantly enhance the overall aesthetics of your workspace. It creates a sleek and modern look, eliminating the visual clutter that cables and devices can create. This clean aesthetic improves the overall ambiance and professionalism of the area.
Precautions and Considerations
Avoid Direct Sunlight or Heat Sources
When selecting the mounting location, avoid placing the mini PC in direct sunlight or near any heat sources. Excessive heat can lead to overheating and potential damage to the internal components of the mini PC. Choose a cooler and shaded area for optimal performance and longevity.
Keep Away from Moisture or Humidity
Ensure that the chosen mounting location is away from areas with high levels of moisture or humidity. Moisture can severely damage electronic devices, including mini PCs. Elevated humidity levels increase the risk of corrosion and can impact the functionality of the mini PC.
Do Not Overload the Mini PC
It is important to avoid overloading the mini PC with excessive weight or additional devices when wall mounting. The wall mount and the mini PC should only accommodate the recommended weight capacity specified by the manufacturer. Overloading can strain the mount, compromising its stability.
Follow Manufacturer Guidelines
Always refer to the manufacturer’s guidelines for your specific mini PC and wall mount. The manufacturer’s instructions will provide detailed information on the installation process, weight limitations, and any other important considerations. To ensure a secure and successful wall mounting, adhere to the provided guidelines.
Conclusion
Wall mounting a mini PC can be a practical and aesthetically pleasing solution for optimizing space and improving the overall functionality of your workspace. By considering factors such as the size and weight of the mini PC, wall material, and proper ventilation, you can confidently choose the right wall mount option. Follow the step-by-step guide and utilize the essential tools to securely install the mini PC on the wall. Alternatively, explore alternative mounting options if wall mounting is not suitable for your setup. Remember to practice proper maintenance and troubleshooting to ensure the longevity and performance of your wall-mounted mini PC. By taking the necessary precautions and considering the benefits and aesthetics, you can achieve a seamless and efficient wall-mounted mini PC setup.
Disclosure: As an Amazon Associate, I earn from qualifying purchases.


