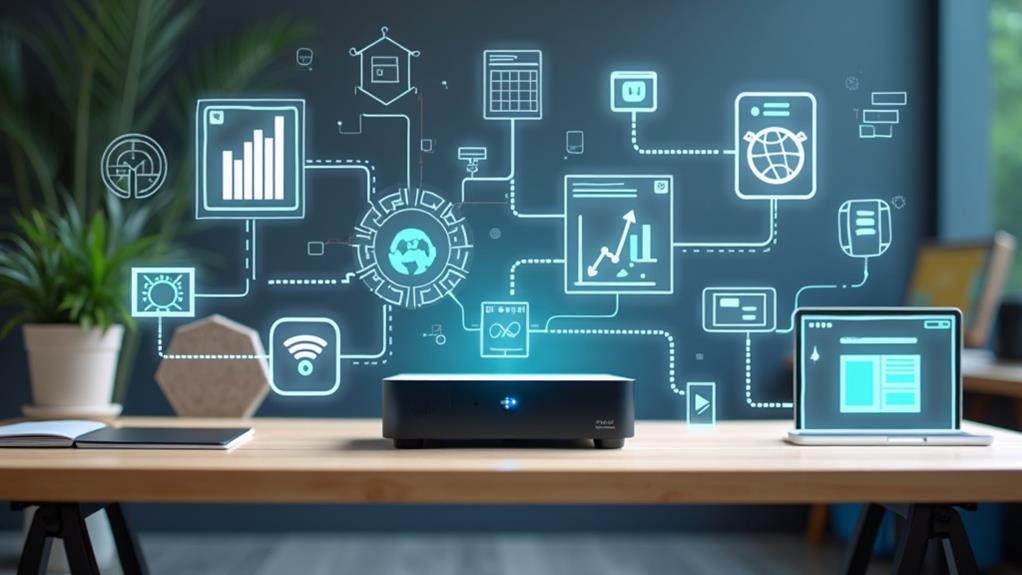
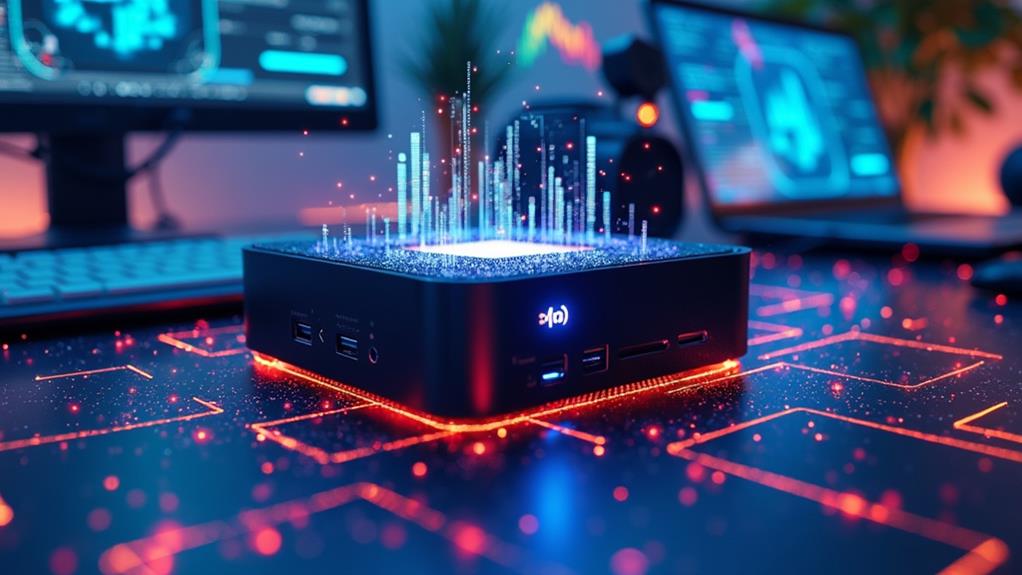
So you have just gotten yourself a shiny new mini PC, but now you may be wondering, how exactly do you connect peripherals to it? Fear not, because in this article, we will guide you through the process step by step. From keyboards and mice to monitors and speakers, we will show you the various ways to connect your favorite peripherals to your mini PC, ensuring that you have a seamless and efficient computing experience. Whether you are a tech enthusiast or a novice user, this article is here to help you make those essential connections and unleash the full potential of your mini PC.
Connecting Peripherals to a Mini PC
If you have recently purchased a mini PC, you may be wondering how to connect all your peripherals to it. Luckily, connecting peripherals to a mini PC is a straightforward process. In this article, we will guide you through the steps of connecting USB peripherals, wireless peripherals, video output devices, audio output devices, and other important peripherals such as a mouse, keyboard, monitor, and speakers.
USB Peripherals
One of the most common ways to connect peripherals to a mini PC is through USB ports. Most mini PCs come equipped with multiple USB ports, allowing you to connect a variety of peripheral devices such as external hard drives, printers, scanners, and more. To connect a USB peripheral, simply locate an available USB port on your mini PC, and plug the peripheral’s USB cable into the port. The operating system of your mini PC should automatically recognize the peripheral, and you will be able to use it right away.

Wireless Peripherals
If you prefer a cable-free setup, wireless peripherals are a great option. Wireless peripherals such as keyboards, mice, and headphones use Bluetooth or Wi-Fi to wirelessly connect to your mini PC. To connect a wireless peripheral, make sure that your mini PC has Bluetooth or Wi-Fi capabilities. If it does, simply put your wireless peripheral in pairing mode and search for it through the Bluetooth or Wi-Fi settings on your mini PC. Once the peripheral is detected, follow the on-screen instructions to complete the pairing process. After successful pairing, you can start using your wireless peripheral without the need for any cables.
Video Output
To connect your mini PC to an external display, you will need to utilize the video output options available. Most mini PCs come with HDMI or DisplayPort outputs, which allow you to connect the mini PC to a monitor, television, or projector. To connect the mini PC via HDMI or DisplayPort, locate the corresponding port on the back or side of your mini PC. Then, connect one end of the HDMI or DisplayPort cable into the mini PC and the other end into the desired display device. Make sure the display device is set to the correct input source, and you should see the mini PC’s screen on the external display.
Audio Output
For audio output, mini PCs usually have an audio jack that allows you to connect external speakers or headphones. Locate the audio jack on your mini PC and plug in the audio cable from your speakers or headphones. If you are using speakers, make sure they are powered on and the volume is adjusted accordingly. If you are using headphones, simply put them on and enjoy the audio output from your mini PC. Most mini PCs also have built-in speakers, so you can choose to use them if you prefer not to connect external speakers.
Ethernet Connectivity
While most mini PCs offer Wi-Fi connectivity, you may prefer a more stable and reliable internet connection through an Ethernet cable. To connect your mini PC to a network using an Ethernet cable, locate the Ethernet port on your mini PC. Then, connect one end of the Ethernet cable to the mini PC and the other end to a router or modem. Once connected, your mini PC should automatically detect the Ethernet connection, and you will be able to access the internet without any additional setup.
Bluetooth Connectivity
In addition to connecting wireless peripherals, as mentioned earlier, mini PCs also support Bluetooth connectivity for other devices such as headphones, speakers, or smartphones. To enable Bluetooth connectivity on your mini PC, go to the settings menu and navigate to the Bluetooth settings. Make sure Bluetooth is turned on, and your mini PC should start searching for nearby Bluetooth devices. Once your desired device appears in the list, select it to initiate the pairing process. Once paired, you will be able to use the Bluetooth device with your mini PC.
Connecting a Mouse
To connect a mouse to your mini PC, you have a couple of options. If you are using a wired mouse, simply plug in the USB cable of the mouse into an available USB port on your mini PC. Your operating system will automatically detect the mouse, and you can start using it right away. If you prefer a wireless mouse, make sure your mini PC has Bluetooth capabilities. Put your wireless mouse in pairing mode and search for it through the Bluetooth settings on your mini PC. Once the mouse is detected, follow the on-screen instructions to complete the pairing process, and you will have a wire-free mouse experience.
Connecting a Keyboard
Similar to connecting a mouse, you can connect a keyboard to your mini PC using either a wired or wireless connection. For a wired connection, locate an available USB port on your mini PC and plug in the USB cable of the keyboard. The operating system will recognize the keyboard, and you can start typing right away. To connect a wireless keyboard, ensure that your mini PC has Bluetooth capabilities. Put your wireless keyboard in pairing mode and search for it through the Bluetooth settings on your mini PC. Once the keyboard is found, complete the pairing process, and you will have a convenient wireless typing experience.
Connecting a Monitor
To connect a monitor to your mini PC, start by identifying the available video output ports on your mini PC, such as HDMI or DisplayPort. Then, locate the corresponding port on your monitor and connect one end of the HDMI or DisplayPort cable to the mini PC and the other end to the monitor. Adjust the monitor’s input source to match the connection, and your mini PC’s display will appear on the monitor. If necessary, configure the display settings on your mini PC to optimize the resolution and orientation for your monitor.
Connecting Speakers
If you prefer external speakers for better audio quality, connecting them to your mini PC is easy. Identify the audio jack on your mini PC and connect one end of the audio cable from your speakers to the audio jack. Ensure that the speakers are powered on and the volume is adjusted accordingly. If you prefer a wireless audio setup, refer back to the section on Bluetooth connectivity. You can pair your Bluetooth speakers with your mini PC, allowing you to enjoy high-quality wireless audio without the need for cables.
By following these simple steps, you can easily connect all your essential peripherals to your mini PC. Whether it’s USB peripherals, wireless peripherals, video output, audio output, Ethernet connectivity, or Bluetooth connectivity, you can customize your mini PC setup to suit your needs and preferences. Have fun exploring the possibilities that your mini PC and peripherals have to offer!
Disclosure: As an Amazon Associate, I earn from qualifying purchases.