


You can install an SSD in a Mini PC to boost speed and performance. Enjoy quicker boot times and better multitasking. Experience enhanced system responsiveness with an SSD. Select the right SSD based on storage needs and performance requirements. Prepare your Mini PC by backing up data and conducting benchmarks. Safely open the case and delicately install the SSD for faster read/write speeds. Connect cables properly, configure BIOS settings, and boot up to enjoy the enhanced speed. Benchmark the SSD for optimized performance. Discover more benefits and details by exploring the complete installation process.
Key Takeaways
- SSD installation in a Mini PC is possible and highly beneficial for speed and performance upgrades.
- Ensure compatibility of the SSD with the Mini PC and follow manufacturer instructions for a smooth installation process.
- Consider factors like storage capacity, form factor, and performance specifications when selecting the SSD.
- Back up data before installation, organize cables properly, and configure BIOS settings for optimal SSD performance.
- Enjoy enhanced system responsiveness, faster boot times, and improved multitasking capabilities after installing an SSD in a Mini PC.
Benefits of Installing an SSD
By upgrading to an SSD, you can greatly enhance the speed and performance of your Mini PC. An SSD offers improved performance compared to traditional hard drives due to its faster read and write speeds. This means quicker boot times, faster application loading, and overall snappier system responsiveness. The extended lifespan of an SSD is another significant benefit. Unlike mechanical hard drives that have moving parts and are prone to wear and tear over time, SSDs have no moving components, making them more durable and reliable in the long run.

In addition to speed and performance gains, installing an SSD in your Mini PC can lead to improved multitasking capabilities and smoother operation when running demanding applications or multitasking between several programs simultaneously. The enhanced speed of an SSD can also positively impact tasks such as video editing, gaming, and content creation, where quick access to large files is essential for a seamless user experience.
Choosing the Right SSD
Upgrading your Mini PC with an SSD involves selecting the right SSD that matches your storage needs and performance requirements. When upgrading storage, consider the SSD's capacity, typically ranging from 120GB to 4TB. Determine the amount of data you need to store and choose accordingly.
Importance comparison is essential when choosing an SSD. Look at the read and write speeds, measured in MB/s. A higher speed indicates faster data transfer, leading to better overall performance. SSDs with NVMe technology offer faster speeds compared to SATA SSDs.
Take into account the form factor of the SSD, ensuring it fits into your Mini PC. Common form factors include 2.5-inch, M.2, and mSATA. M.2 SSDs are popular for their compact size and high speeds.
Lastly, evaluate the endurance rating of the SSD, which indicates its lifespan based on data written to it. Higher endurance ratings are ideal for systems with heavy usage. By carefully considering these factors, you can choose the right SSD to enhance your Mini PC's performance.
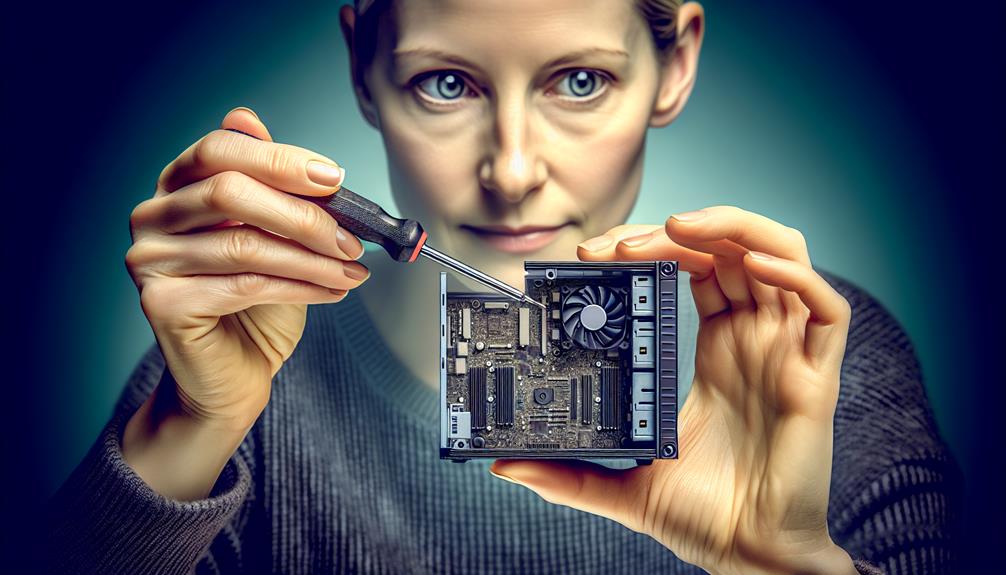
Preparing Your Mini PC
To get your Mini PC ready for installing an SSD, make sure that you have all necessary tools and backup any important data stored on the device. Prior to the installation, consider performing data migration to transfer your existing data to the new SSD seamlessly. This step guarantees that you do not lose any vital information during the upgrade process. Additionally, it is advisable to conduct performance benchmarks on your current Mini PC to establish a baseline for comparison after installing the SSD. This will allow you to objectively measure the improvements in speed and overall performance brought by the new SSD. By preparing your Mini PC in this manner, you can ensure a smooth conversion to the upgraded storage solution without any data loss or performance uncertainties. Following these steps will help you maximize the benefits of installing an SSD in your Mini PC.
Backing Up Your Data
Consider utilizing a reliable backup tool to safeguard all your important data before proceeding with the SSD installation in your Mini PC. Data backup is vital as it guarantees that in case of any mishaps during the SSD installation or data migration process, your valuable information remains safe. There are various data migration strategies you can employ to transfer your data to the new SSD seamlessly. One common method is using specialized software that clones your existing drive onto the new SSD, preserving all your files, programs, and settings. Additionally, cloud storage services or external hard drives are excellent options for backing up your data before making any changes to your system. Remember, the importance of data cannot be overstated, so taking the time to back up your files properly will provide peace of mind and security throughout the SSD installation process.
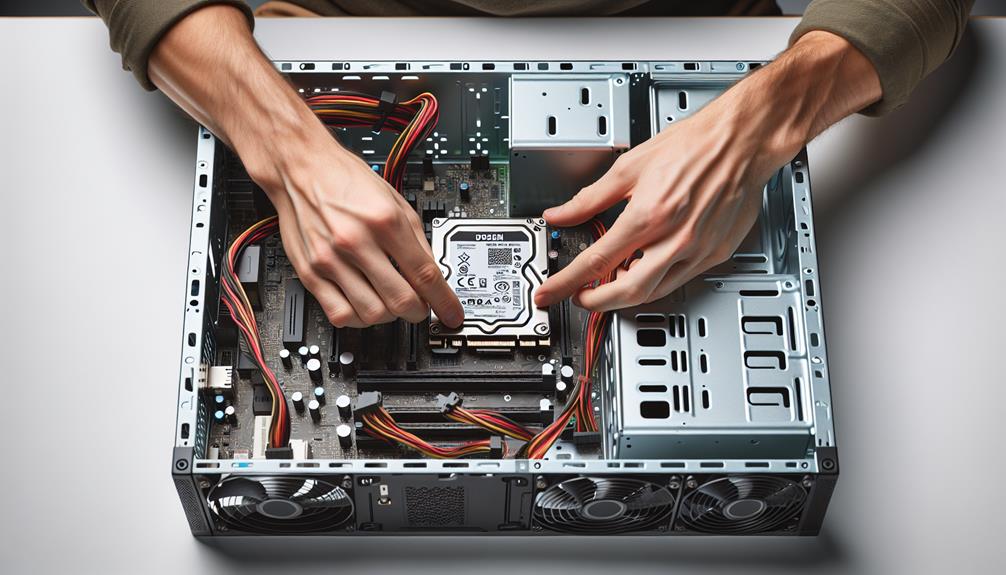
Opening the Mini PC Case
For accessing the internal components, start by removing the screws on the Mini PC case cover. Mini PC compatibility is essential when considering upgrading to an SSD. Make sure that the SSD you choose is suitable for your Mini PC model. Before proceeding, power off the Mini PC and disconnect all cables. Place the Mini PC on a flat surface with ample lighting for better visibility. Use a screwdriver to carefully remove the screws securing the case cover. Keep the screws in a safe place to avoid misplacing them. Once the screws are removed, gently slide or lift the case cover off the Mini PC. Take caution not to apply excessive force to prevent damaging the case or components inside. Opening the Mini PC case is a vital step in the SSD installation process, as it grants access to the internal components where the SSD will be installed in the upcoming steps.
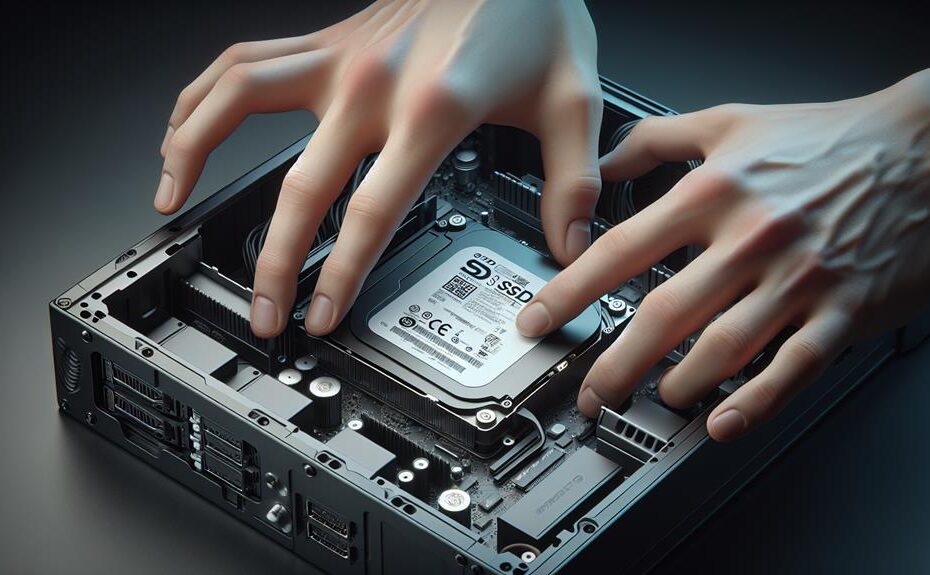
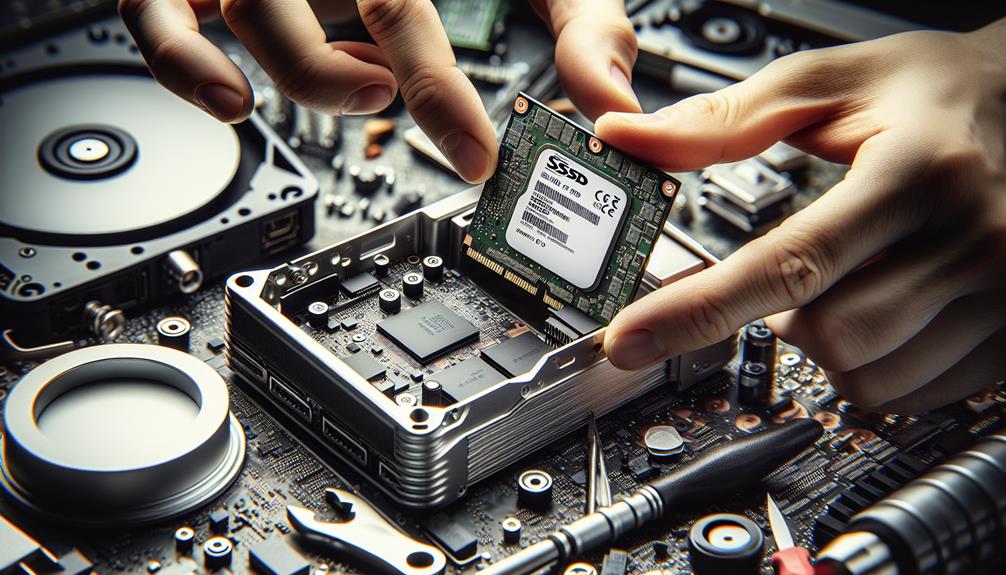
Installing the SSD
Begin the SSD installation process by identifying the slot or bay designated for the SSD in your Mini PC. The SSD slot is usually smaller than the traditional hard drive slot and is often located near the motherboard. Once located, carefully place the SSD into the slot, ensuring it aligns properly with the connectors. SSDs offer significant performance improvements over traditional hard drives due to their faster read/write speeds and lower latency. Not only does installing an SSD boost your Mini PC's performance, but it also enhances storage capacity, allowing you to store more files, applications, and data. Remember to handle the SSD with care to prevent any damage to the delicate components. After securely placing the SSD in the slot, you can move on to the next steps of connecting cables and closing the Mini PC case.
Connecting Cables and Closing

Wondering how to properly connect the cables and close up your Mini PC after installing the SSD? When connecting the cables, ensure proper cable organization to maintain good airflow and prevent any interference. Make sure to connect the power and data cables securely to the SSD and the motherboard. Double-check the connections to avoid any troubleshooting issues later on.
Closing up your Mini PC is straightforward. Place the cover back on the Mini PC case and secure it with the screws. Ensure that the SSD is compatible with your Mini PC to avoid any performance impact. Some SSDs may require specific connectors or adapters, so verify compatibility beforehand.
After closing up, power on your Mini PC and check if the SSD is detected in the system. If not, revisit the connections and troubleshoot any issues. Proper cable organization and confirming SSD compatibility are critical steps in the process of installing an SSD in a Mini PC.
Booting Up and Configuring
To initiate the process, power on the Mini PC and access the BIOS settings to configure the newly installed SSD. The BIOS is where you can set the boot order, ensuring the system recognizes the SSD as the primary drive. Once in the BIOS, locate the boot options and prioritize the SSD to optimize SSD performance. Save the changes and exit the BIOS, allowing the Mini PC to restart.
After the restart, the Mini PC should recognize the SSD as the main storage device. At this point, you can proceed to install your preferred operating system. Remember to select the SSD as the installation location to take advantage of its speed and performance benefits.
Configuring the Mini PC to boot from the SSD should result in faster boot times and improved overall system responsiveness. By setting up the SSD correctly in the BIOS and installing the operating system on it, you are maximizing the potential of your Mini PC's new storage upgrade.
Testing and Enjoying the Speed
After confirming the SSD is recognized as the primary storage device, proceed to benchmark its speed and performance to assess the impact of the upgrade on your Mini PC's overall efficiency. To conduct a performance comparison, use benchmarking tools like CrystalDiskMark or AS SSD to measure the data transfer speeds before and after installing the SSD. Compare metrics such as sequential read and write speeds, random read and write speeds, and input/output operations per second (IOPS) to gauge the SSD's performance improvements.
Disclosure: As an Amazon Associate, I earn from qualifying purchases.