

Imagine having a clutter-free workspace where your mini PC seamlessly attaches to the back of your monitor, saving you valuable desk real estate. But is it really possible? Can mini PCs be mounted to the back of a monitor? In this article, we will explore the feasibility of this convenient setup and discuss the benefits it can bring to your productivity and overall workspace organization. So, get ready to unlock the potential of your mini PC and transform your workstation into a sleek and efficient hub. Yes, they can! Mounting a mini PC to the back of a monitor is a popular trend among tech-savvy individuals. It not only saves space but also enhances the overall work setup efficiency. In this comprehensive article, we will explore the concept of mini PCs, different types of mounting, the feasibility of mounting mini PCs to a monitor, components involved in mounting, how to choose the right monitor for mounting, step-by-step instructions to mount a mini PC to the back of a monitor, benefits of mounting, potential risks and pitfalls, alternatives to mounting, and the latest trends in mini PC mounting.
Understanding the concept of Mini PCs
What is a Mini PC?
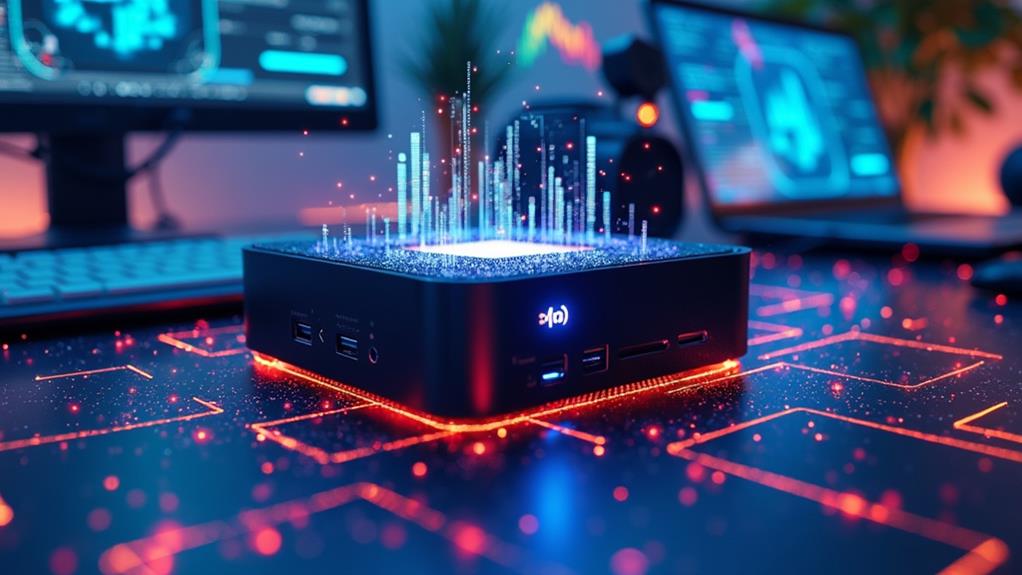
A mini PC, also known as a small form factor (SFF) PC, is a compact-sized computer that offers the same functionality as a traditional desktop computer but in a smaller and more portable package. These tiny computers are often as small as a paperback book or even smaller, making them perfect for those who have limited workspace or prefer a clutter-free environment.
Key features of Mini PCs
Mini PCs come with a range of key features that make them a popular choice among users. These features include a compact size, energy efficiency, low power consumption, quiet operation, and the ability to perform most tasks that a regular-sized desktop PC can handle. Despite their small size, they often come equipped with powerful processors, ample storage options, and multiple connectivity ports.
Different kinds of Mini PCs available in the market
In the market, you can find various types of mini PCs to suit different needs and preferences. Some popular options include barebone mini PCs, which typically come without storage or RAM, allowing users to customize and upgrade according to their requirements. There are also mini PCs specifically designed for gaming, media center purposes, or industrial applications. With the growing popularity of mini PCs, there is a wide range of options to choose from to fit your specific needs.
The concept of Mounting
Understanding the term ‘mounting’
Mounting, in the context of mini PCs, refers to the process of attaching the mini PC unit to a monitor. By doing so, you can free up desk space and create a neat and organized workstation. This method of mounting not only enhances the overall aesthetic appeal but also improves work efficiency by reducing clutter.
Different types of mounting
There are several methods of mounting a mini PC to a monitor. The most common and preferred method is using a VESA mount. VESA stands for Video Electronics Standards Association, and it is a standard for mounting flat-panel displays and mini PCs. Other mounting options include using a dedicated computer mount or fixing the mini PC beneath the desk. Each method has its own advantages and considerations, depending on the user’s needs and workspace setup.
How mounting enhances work setup efficiency
Mounting a mini PC to the back of a monitor offers several benefits in terms of work setup efficiency. It allows for better space utilization by eliminating the need for a separate PC tower or additional workspace for the mini PC. This not only creates a clean and organized workspace but also frees up valuable real estate on your desk. With a mounted mini PC, you can easily access the computer’s functionalities while having more space to work, whether it’s for paperwork, creative projects, or simply having a clutter-free environment that promotes focus and productivity.
The feasibility of Mounting Mini PCs to a Monitor
Scope and rationale of mounting Mini PCs to Monitor
Mounting mini PCs to a monitor has become a popular option due to its numerous advantages. It saves space, provides a cleaner and more organized workspace, and allows for better cable management. Additionally, it reduces the risk of accidental damage to the mini PC and the monitor, as both are securely attached together. With the increasing popularity of mini PCs, more and more monitors are being manufactured with VESA mount compatibility, making it easier to mount mini PCs without the need for additional adapters or modifications.
Factors affecting the feasibility of mounting
While mounting mini PCs to a monitor is generally feasible, there are a few factors that need to be considered. The weight and size of the mini PC must be compatible with the chosen mounting method and the monitor’s capabilities. Additionally, the monitor must have VESA mount compatibility or other mounting options that can be utilized effectively. It is also important to ensure that the monitor has sufficient ventilation to prevent the mini PC from overheating. Considering these factors before proceeding with the mounting process will help ensure a successful and safe installation.
Issues that may arise when mounting
Despite its many advantages, there are a few potential issues that may arise when mounting a mini PC to a monitor. One common problem is the difficulty in accessing the ports and buttons of the mini PC once it is mounted. Depending on the mounting method and the monitor’s design, some ports may become hard to reach, making plug-and-play tasks or general maintenance a bit more challenging. It is important to consider these accessibility aspects and plan accordingly to avoid any inconvenience or potential damage to the mini PC or monitor.
Components involved in Mounting Mini PCs to a Monitor
Intro into VESA mount
VESA mount is a widely recognized standard for mounting flat-panel displays, including monitors and mini PCs. It ensures compatibility by providing a set of standardized hole patterns on the back of displays. The VESA mount pattern consists of four screws arranged in a square or rectangular shape. By having a monitor with VESA mount compatibility, you can easily attach a mini PC using a mounting bracket.
The role of mounting brackets
Mounting brackets play a crucial role in securely attaching a mini PC to the back of a monitor. These brackets usually come with VESA hole patterns to match the monitor’s mount. They provide a sturdy and reliable connection between the mini PC and the monitor, ensuring that they stay securely together even during movement or adjustments. Depending on the manufacturer and model, mounting brackets may also offer additional features such as adjustable angles or cable management options.
Importance of Proper Screws and toolsets in mounting
Using the right screws and toolsets is essential when mounting a mini PC to a monitor. It is important to ensure the screws are of the correct size and type to fit the VESA mount pattern on the monitor and the mounting bracket. Using improper screws can lead to insecure mounting or even damage the monitor or mini PC. Additionally, having the appropriate toolsets such as screwdrivers or wrenches will make the installation process much easier and safer.
How to Choose the Right Monitor for Mounting a Mini PC
Assessing Monitor’s compatibility with VESA mount
When choosing a monitor for mounting a mini PC, it is crucial to check its compatibility with VESA mount. Look for monitors that specifically mention VESA mount compatibility in their specifications or product descriptions. The VESA mount pattern is often indicated by a measurement in millimeters, such as 75×75 or 100×100, which refers to the distance between the mounting holes on the back of the monitor. These measurements should match the VESA pattern on the mounting bracket and the mini PC to ensure a proper fit.
Considering Monitor’s weight
The weight of the monitor is another important consideration when choosing one for mounting a mini PC. Make sure that the monitor can support the weight of the mini PC and the mounting bracket without any issues. Exceeding the weight capacity of the monitor can lead to instability and potential damage. The weight capacity is usually listed in the monitor’s specifications or user manual. It is advisable to choose a monitor that has a weight capacity slightly higher than the combined weight of the mini PC and the mounting bracket for added safety.
Evaluating the Monitor’s connectivity
Check the connectivity options of the monitor to ensure that it meets your requirements. Make sure it has the necessary ports and compatibility for connecting the mini PC and other peripherals you may need, such as HDMI, DisplayPort, USB, or audio ports. Additionally, consider the positioning of these ports in relation to the mounting method chosen. Accessibility to the ports is essential for convenient plug-and-play tasks and general maintenance.
Steps to Mount a Mini PC to the Back of a Monitor
Preparation before mounting
Before proceeding with the mounting process, there are a few preparations that should be done. Start by gathering all the necessary tools and components, including the mini PC, monitor, VESA-compatible mounting bracket, proper screws, screwdriver or wrench, and any additional accessories such as cable management solutions. Read the user manuals or instructions provided with the mini PC, monitor, and mounting bracket to familiarize yourself with their specifications and any specific requirements for installation.
Mounting Procedure Step-by-Step
- Ensure that both the mini PC and the monitor are powered off and disconnected from any power sources.
- Locate the VESA mount pattern on the back of the monitor. This pattern is usually a set of four holes arranged in a square or rectangular shape.
- Attach the mounting bracket to the back of the monitor by aligning the VESA holes on the monitor with the corresponding holes on the mounting bracket. Secure the bracket in place using the provided screws and a screwdriver or wrench.
- Place the mini PC onto the mounting bracket, aligning the screw holes on the mini PC with the holes on the bracket.
- Insert the screws into the holes and tighten them using the appropriate tool. Make sure the screws are securely fastened to ensure the mini PC stays in place.
- Double-check all the connections and ensure that the mini PC is properly aligned and mounted to the back of the monitor.
- Once everything is securely mounted, reconnect the monitor and the mini PC to their respective power sources and turn them on.
Safety Precautions during and after mounting
It is important to follow certain safety precautions during and after the mounting process. Ensure that the mini PC and the monitor are powered off and disconnected from any power sources before starting the installation. Take caution while handling the mini PC and the monitor to prevent accidental damage. Avoid overtightening the screws during the mounting process, as it can lead to stripped screw threads or damage to the monitor or mini PC. After mounting, check the stability of the setup and make any necessary adjustments to ensure everything is securely in place.
Benefits of Mounting Mini PCs to Monitor
Reducing Clutter and Enhancing Space Utilization
One of the major benefits of mounting a mini PC to the back of a monitor is the reduction of clutter and the enhancement of space utilization. By eliminating the need for a separate PC tower, you can free up valuable desk space and create a clean and organized workspace. This is particularly beneficial for those with limited space or those who prefer a clutter-free environment for improved focus and productivity.
Improving Aesthetics
Mounting a mini PC to the back of a monitor adds a sleek and streamlined look to your work setup. It eliminates the visual clutter of cables and separates components, creating a more aesthetically pleasing environment. This clean and minimalistic setup can contribute to a professional and modern look, whether it’s in a home office, workplace, or gaming station.
Ease of Maintenance and Upgrade
With a mounted mini PC, maintenance and upgrades become easier and more convenient. Since the mini PC is easily accessible on the back of the monitor, you can quickly perform tasks such as cleaning, replacing components, upgrading the storage or RAM, or connecting peripherals without the hassle of moving or opening a separate PC tower. This ease of access ensures that you can maintain and upgrade your mini PC efficiently, contributing to its longevity and performance.
Potential Risks and Pitfalls when Mounting Mini PCs to Monitor
Risk of Damage to Mini PC or Monitor
Although mounting a mini PC to the back of a monitor is generally safe and secure, there is a small risk of damage to either the mini PC or the monitor during the mounting process. Overtightening the screws, using improper screws or tools, or mishandling the components can potentially lead to scratches, cracks, or other damages. It is important to exercise caution and follow the manufacturer’s instructions and guidelines to minimize these risks.
Potential for Overheating
When mounting a mini PC to the back of a monitor, it is crucial to consider the potential for overheating. Some mini PCs generate a significant amount of heat during operation, and proper ventilation is essential to prevent overheating and maintain optimal performance. Before mounting, ensure that the monitor has adequate ventilation to dissipate the heat generated by the mini PC. Monitor designs with a mesh or ventilation holes provide better airflow for cooling purposes.
Difficulty in Accessing Ports and Buttons
Depending on the mounting method and the monitor’s design, mounting a mini PC to the back of a monitor may make it slightly more challenging to access the ports and buttons of the mini PC. It is important to consider the positioning and accessibility of these ports when choosing the mounting method. Using extension cables, adapters, or cable management solutions can help mitigate this issue and provide better accessibility to the necessary ports and buttons.
Alternatives to Mount Mini PCs to the Monitor
Usage of Stand
If mounting a mini PC to the back of a monitor is not a suitable option for your specific needs, an alternative is using a stand. There are various stands available in the market that can hold both the mini PC and the monitor together. These stands come in different designs and sizes, providing stability and flexibility in positioning. Using a stand ensures that the mini PC remains within easy reach while still maintaining a clutter-free workspace.
Fixing Mini PC beneath the desk
Another alternative to mounting a mini PC to a monitor is fixing it beneath the desk. This method involves using mounting brackets or holders attached to the underside of the desk, keeping the mini PC out of sight and providing better cable management. Mounting the mini PC beneath the desk can help reduce clutter on the desktop while still keeping the mini PC easily accessible for maintenance or upgrades.
Using a dedicated Computer mount
For those who prefer a more customized and versatile setup, using a dedicated computer mount is an alternative worth considering. These mounts are specifically designed to hold both the mini PC and the monitor, offering flexibility in positioning and adjustability for optimal viewing angles. Dedicated computer mounts come in various designs, such as desk clamps, wall mounts, or articulated arms, allowing you to find the perfect setup that suits your workspace and preferences.
Latest Trends in Mini PC Mounting
Integrated Monitor and Mini PC designs
The latest trend in mini PC mounting is the emergence of integrated monitor and mini PC designs. These all-in-one systems combine the functionality of a monitor and a mini PC into a single unit. With this design, you no longer need to worry about mounting or connecting a separate mini PC to a monitor. These integrated systems offer a compact and streamlined solution, making them ideal for space-constrained environments or those seeking a minimalistic setup.
Wireless Mini PCs
Wireless mini PCs are gaining popularity as they provide even more flexibility in mounting options. These mini PCs utilize wireless connectivity technologies such as Wi-Fi and Bluetooth to eliminate the need for physical connections between the mini PC and the monitor. With a wireless mini PC, you have the freedom to position it anywhere within the range of the wireless connection, allowing for a truly cable-free and versatile setup.
Advanced Mounting options and Accessories
As the demand for mounting mini PCs to monitors continues to grow, manufacturers are developing advanced mounting options and accessories to cater to diverse needs. These options may include adjustable brackets for multi-monitor setups, cable management solutions for a tidier workspace, or even specialized mounting solutions for specific monitor models. The market is constantly evolving, offering a range of innovative and practical solutions to enhance the mini PC mounting experience.
In conclusion, mounting a mini PC to the back of a monitor offers several benefits in terms of space utilization, aesthetics, and ease of maintenance. With the right monitor, appropriate mounting method, and careful consideration of potential risks and alternatives, you can enjoy a neat and efficient workspace that maximizes both functionality and visual appeal. Whether you choose to go with a VESA mount, stands, or other mounting options, the trend of mounting mini PCs to monitors continues to evolve with the latest advancements in technology and design. So go ahead and explore the possibilities of mini PC mounting to create your ideal work setup.
Disclosure: As an Amazon Associate, I earn from qualifying purchases.


